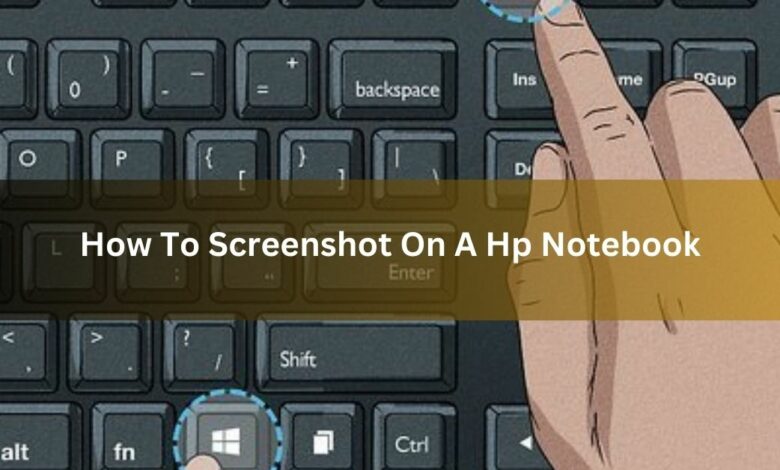
The art of capturing screenshots on your HP notebook with these simple methods and tools.
To take a screenshot on your HP notebook, you can use keyboard shortcuts, built-in tools like Snipping Tool or Snip & Sketch, or third-party software.
From capturing full screens to selecting specific areas, discover the effortless ways to immortalise your screen moments with a few keystrokes or clicks.
Table of Contents:
Using Keyboard Shortcuts – Click To Unlock The Details!
Taking a screenshot on an HP notebook helps capture critical information, share content with others, or troubleshoot technical issues. Here is a more in-depth look at how to take screenshots on an HP notebook using different methods:
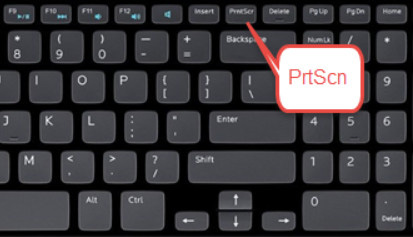
Method 1: Using The Print Screen Key
1. Full-Screen Screenshot:
- Press the “PrtScn” (Print Screen) key on your keyboard. This will capture a screenshot of the entire screen.
- Open an image editing program like Paint or Photoshop.
- Press “Ctrl + V” to paste the screenshot into the program.
- Save the screenshot as an image file (e.g., JPEG, PNG) by clicking on “File” > “Save As.”
2. Active Window Screenshot:
- Click on the window you want to capture to make it the active window.
- Press “Alt + PrtScn” to capture a screenshot of the active window.
- Open an image editing program and paste the screenshot using “Ctrl + V.”
- Save the screenshot as an image file.
Read Also: Banker Broadjaw – Click For The Complete Guide In 2024!
Method 2: Using the Snipping Tool (Windows 7) or Snip & Sketch Tool (Windows 10)
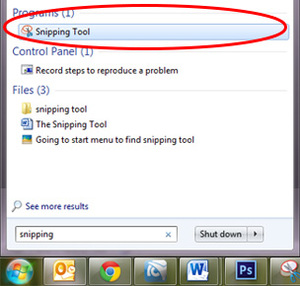
1. Open the Snipping Tool (Windows 7) or Snip & Sketch Tool (Windows 10):
- For Windows 7: Click on the “Start” button, type “Snipping Tool” in the search box, and press “Enter.”
- For Windows 10: Press “Windows key + Shift + S” to open the Snip & Sketch tool.
2. Capture a Screenshot:
- In the Snipping Tool or Snip & Sketch tool, click on “New” to start a new snip.
- Select the type of snip you want (e.g., rectangular, free-form, window).
- Click and drag to select the area you want to capture.
- Release the mouse button to capture the screenshot.
3. Edit and Save the Screenshot:
- After capturing the screenshot, you can use the editing tools in the Snipping Tool or Snip & Sketch tool to annotate or highlight parts of the screenshot.
- Click on “File” > “Save As” to save the screenshot as an image file.
Method 3: Using the Windows Game Bar (Windows 10)
1. Open the Game Bar:
Press “Windows key + G” to open the Game Bar.
2. Capture a Screenshot:
- Click on the camera icon in the Game Bar or press “Windows key + Alt + PrtScn” to capture a screenshot.
- The screenshot will be saved to your Videos folder by default.
Read Also: Maegan Hall Husband – A Complete Informative Guide In 2024!
Method 4: Using Third-Party Screenshot Software
1. Download and Install Screenshot Software:
- Many third-party screenshot software options, such as Greenshot, Lightshot, or Snagit, are available.
- Download and install the software according to the instructions provided.
2. Capture a Screenshot:
- Open the screenshot software and follow the instructions for capturing a screenshot.
- Most screenshot software allows you to capture full-screen, specific windows, or custom areas of the screen.
3. Edit and Save the Screenshot:
- After capturing the screenshot, you can use the editing tools provided by the software to annotate or enhance the screenshot.
- Save the screenshot as an image file.
- Using these methods, you can easily take screenshots on your HP notebook, capture important information, or share content with others.
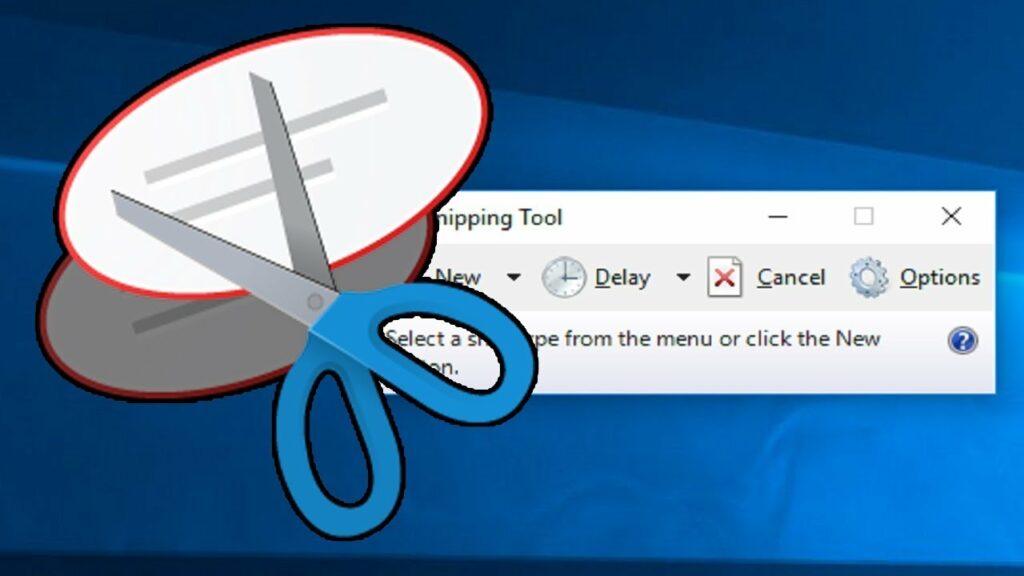
Using Snipping Tool – Explore The Complete Story Here!
To take a screenshot of an HP notebook in more detail, follow these steps:
Using Snipping Tool:
Step 1: Open the Snipping Tool
- Click on the Start menu.
- Type “Snipping Tool” in the search bar.
- Click on the Snipping Tool app to open it.
Step 2: Take a Screenshot
- In the Snipping Tool window, click on “New.”
- Select the type of snip you want (free-form, rectangular, window, or full-screen).
- Use your mouse to select the area you want to capture.
Step 3: Save the Screenshot
- After capturing the screenshot, click “File” in the Snipping Tool window.
- Select “Save As.”
- Choose the location where you want to save the screenshot.
- Enter a file name for the screenshot.
- Select the file type (JPEG et al. or HTML).
- Click on “Save.”
Read Also: Lauren Daigle Married – Unlock Their Love Story In 2024!
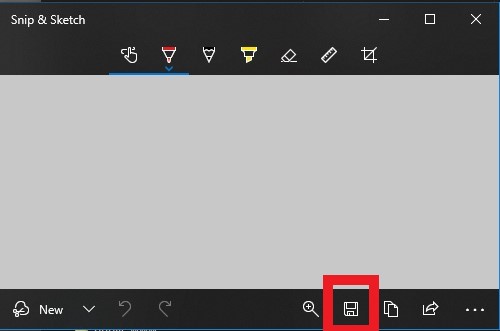
Using Snip & Sketch – Click For A Detailed Overview!
When you press the Windows key + Shift + S on your HP notebook, it opens the Snip & Sketch tool, a built-in feature in Windows that allows you to take screenshots. This tool offers several options for handling different types of snips:
1. Rectangular Snip:
This option lets you draw a rectangle around the area you want to capture. Simply click and drag the cursor to select the desired location.
2. Freeform Snip:
This option allows you to draw a freeform shape around the area you want to capture. Click and hold the mouse button to remove the shape.
3. Window Snip:
This option allows you to capture a specific window on your screen. After selecting this option, click on the window you want to capture.
Once you have selected the area to capture, the Snip & Sketch tool will automatically copy the screenshot to your clipboard. You can paste it into an image editing program or document by pressing Ctrl + V.
Alternatively, you can save the screenshot by clicking on the notification after taking the screenshot and selecting “Save as” to choose the location and file format for the screenshot.
Using Third-Party Software – Discover More Right Away!
Download and install a third-party screenshot tool like Greenshot or Lightshot.
Follow the software’s instructions for taking screenshots on your HP notebook, which may include using hotkeys or clicking on the tool’s interface to capture screenshots.
Conclusion:
Master capturing screenshots on your HP notebook using these straightforward techniques and utilities. Whether capturing entire screens or specific areas, learn how to immortalize your screen with just a few clicks or keystrokes.
FAQs:
1. How do I find the screenshots I have taken on my HP notebook?
The screenshots are usually saved in your HP notebook’s “Pictures” folder. You can also use the search function to locate them.
2. Can I edit the screenshots after taking them?
You can use image editing software or the built-in editing tools in the Snipping Tool or Snip & Sketch tool to edit the screenshots.
3. Can I take a screenshot of a specific area on my HP notebook?
You can use the Snipping Tool or Snip & Sketch tool to capture a specific screen area.
Read Also: